





How to Replace the MAF Sensor on a 2012-2023 Chevrolet Traverse (Trim: L | Engine: V6 3.6L)
Step-by-step instructions with required tools, parts, torque specs, and safety tips for 2012, 2013, 2014, 2015, 2016, 2017, 2018, 2019, 2020, 2021, 2022, 2023
How to Replace the MAF Sensor on a 2012-2023 Chevrolet Traverse (Trim: L | Engine: V6 3.6L)
Step-by-step instructions with required tools, parts, torque specs, and safety tips for 2012, 2013, 2014, 2015, 2016, 2017, 2018, 2019, 2020, 2021, 2022, 2023


🔧 Traverse - Mass Air Flow Sensor Replacement
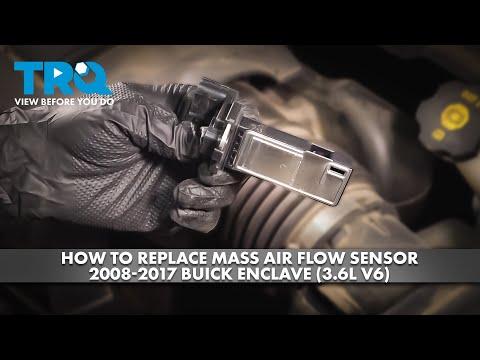
This is an easy beginner repair. The MAF sensor mounts in the air-intake duct near the air-filter housing and can be replaced without removing the complete intake assembly. I’d use a new OE-style sensor rather than a remanufactured unit. Airflow readings aren’t a great place to gamble.
Difficulty Level: Beginner | Estimated Time: 20-40 minutes
Assumption: These instructions apply to the original intake system on your Traverse.
⚠️ Safety & Precautions
- ⚠️ Turn the ignition off and keep the key fob away from the vehicle.
- ⚠️ Allow the engine to cool before reaching around the intake area.
- ⚠️ Never touch, wipe, or probe the sensing element inside the new sensor.
- ⚠️ Keep screws and dirt from falling into the open intake duct.
- ⚠️ Battery disconnection isn’t normally required for this repair.
🔧 Required Tools
You'll need the following tools for this repair:
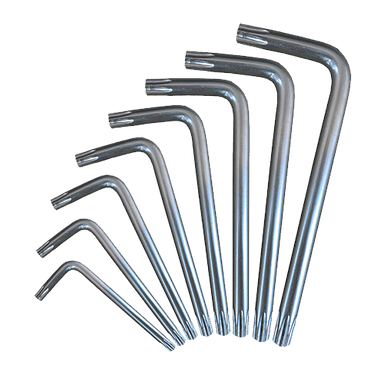
- Torx T20 screwdriver
- 1/4-inch drive inch-pound torque wrench
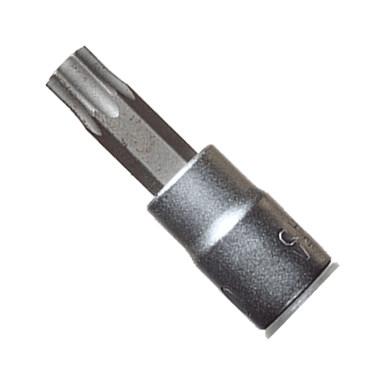
- Torx T20 bit socket
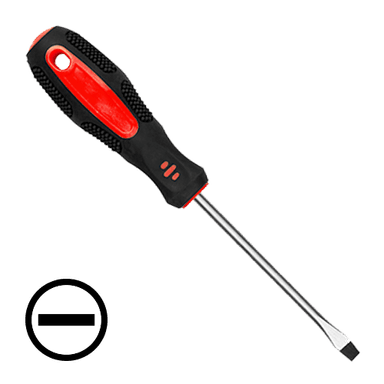
- Small flat-blade screwdriver
- Clean shop towel
- Nitrile gloves
- Safety glasses
- OBD-II scan tool
An inch-pound torque wrench is a small torque wrench designed for delicate fasteners.
🔩 Required Parts
HowToo sells all the parts you need for this repair:
- Mass air flow sensor with sealing O-ring - Qty: 1
The matching new sensors currently shown run about $59-$100. My first counter pick is the Hitachi OE Mass Air Flow Sensor at $59.43; Delphi and NTK options are also available.
📋 Before You Begin
- 📋 Park on level ground, shift into Park, and set the parking brake.
- 📋 Open the hood and locate the air-filter housing on the driver-side front portion of the engine compartment.
- 📋 Follow the large plastic intake duct leaving the air-filter housing. The MAF is the small electrical sensor secured by two screws.
- 📋 If a check-engine light is present, record its diagnostic trouble codes with the OBD-II scan tool before clearing anything.
🔨 Step-by-Step Instructions
Follow these steps in order:
Step 1: Clean Around the Sensor
- Use a clean shop towel to remove loose dust around the MAF sensor and connector.
- Do not allow dirt to enter the intake once the sensor is removed.
Step 2: Disconnect the Electrical Connector
- Slide or lift the connector’s secondary lock by hand.
- If it won’t move, use the small flat-blade screwdriver gently. The secondary lock is the small safety tab that prevents accidental disconnection.
- Press the release tab and pull the connector straight away from the sensor.
- Pull only on the connector housing, never on the wires.
- Gentle pressure wins against plastic connector locks.
Step 3: Remove the Old MAF Sensor
- Use the Torx T20 screwdriver to remove the two sensor retaining screws.
- Keep both screws in a safe location because replacement sensors may not include hardware.
- Pull the sensor straight out while gently rocking its plastic body.
- Check that the old sealing O-ring came out with the sensor.
- Cover the opening temporarily with a clean shop towel. Do not push the towel into the duct.
Step 4: Compare the Sensors
- Compare the electrical connector, mounting holes, sensor length, airflow orientation, and sealing O-ring.
- Make sure the new O-ring sits flat and isn’t twisted.
- Do not apply grease to the sensing element.
Step 5: Install the New Sensor
- Remove the shop towel and insert the new sensor straight into the intake opening.
- Match the sensor’s orientation to the old sensor. Do not force it or install it backward.
- Start both retaining screws by hand using the Torx T20 screwdriver.
- Tighten the screws evenly with the Torx T20 bit socket and inch-pound torque wrench.
- Torque to 3 Nm (27 in-lbs). If the sensor manufacturer supplies a lower printed torque specification, follow that specification. howtoo.com
- Stop immediately when the torque wrench clicks. The intake housing is plastic and can strip.
Step 6: Reconnect the Wiring
- Inspect the connector for bent terminals, moisture, or damaged wiring.
- Push the connector onto the new sensor until its release tab clicks.
- Return the secondary lock to its locked position by hand.
- Give the connector housing a light pull to confirm it’s secure.
Step 7: Inspect the Intake System
- Use the clean shop towel to check around the intake duct.
- Confirm that the duct is seated, its clamps are secure, and no hoses were knocked loose.
- Remove every tool and towel from the engine compartment before starting the engine.
✅ After Repair
- ✅ Start the engine and let it idle for two minutes.
- ✅ Listen for hissing around the intake duct. Hissing may indicate an air leak or pinched seal.
- ✅ A briefly uneven idle can occur while the engine computer adjusts to the new airflow reading.
- ✅ Use the OBD-II scan tool to clear applicable MAF codes only after recording them.
- ✅ Take a 10-15 minute test drive using gentle and moderate acceleration.
- ✅ Scan again afterward. Codes such as P0101, P0102, or P0103 that return may indicate an intake leak, connector problem, wiring fault, or a diagnosis beyond the sensor itself.
💰 DIY vs Shop Cost
Shop Cost: $180-$350 (parts + labor)
DIY Cost: $59-$100 (parts only)
You Save: Approximately $120-$250 by doing it yourself!
Typical labor varies by location. This repair normally takes a shop approximately 0.3-0.7 hours.
🎯 Ready to get started?
HowToo has already opened the matching MAF sensor aisle for your Traverse. You’ll find the sensor choices and required tools there, with same-day or two-day shipping options where available.