



How to Replace the Cabin Air Filter on a 2017 GMC Sierra 1500
Step-by-step instructions with tools, parts, safety tips, and airflow checks for 2014, 2015, 2016, 2017, 2018
How to Replace the Cabin Air Filter on a 2017 GMC Sierra 1500
Step-by-step instructions with tools, parts, safety tips, and airflow checks for 2014, 2015, 2016, 2017, 2018


🔧 Cabin Air Filter - Replacement
Your Sierra uses a cabin air filter behind the glove box. Replacing it helps restore airflow and reduce dust, odors, and HVAC strain. This is a simple job and a good first DIY repair.
Difficulty Level: Beginner | Estimated Time: 0.3-0.6 hours
⚠️ Safety & Precautions
- Turn the ignition off before starting.
- Work carefully around the glove box so you do not crack the hinges or stops.
- If you have an active passenger airbag warning or glove box damage, stop and inspect first.
- No battery disconnect is required for this repair.
🔧 Required Tools
You'll need the following tools for this repair:
- Trim removal tool
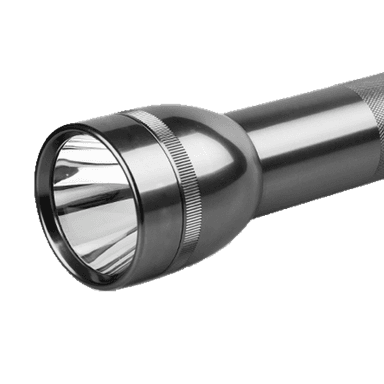
- Flashlight
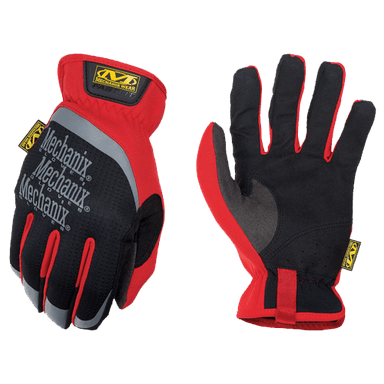
- Gloves
🔩 Required Parts
HowToo sells all the parts you need for this repair:
- Cabin air filter - Qty: 1
📋 Before You Begin
- Park on level ground and set the parking brake.
- Make sure the ignition is off.
- Open the passenger door for easier access to the glove box.
🔨 Step-by-Step Instructions
Follow these steps in order:
Step 1: Empty the glove box
- Remove everything from the glove box so it can swing down freely.
- Keep the screws and clips organized.
Step 2: Release the glove box stops
- Use your hands to gently squeeze the sides of the glove box inward.
- Let the glove box swing down past the stops and hang open.
- If needed, use a trim removal tool to gently help release any tight tabs.
Step 3: Remove the cabin filter access cover
- Locate the filter door behind the glove box.
- Use a trim removal tool or your fingers to unclip the cover.
- Set the cover aside.
Step 4: Remove the old cabin air filter
- Pull the old filter straight out.
- Note the airflow arrow direction on the old filter before removing it.
- Take a quick photo before removal.
Step 5: Install the new cabin air filter
- Slide the new filter into the housing with the airflow arrow facing the same direction as the old one.
- Make sure the filter sits flat and fully seats in the housing.
Step 6: Reinstall the cover and glove box
- Snap the filter access cover back into place.
- Lift the glove box back up and push the sides inward slightly so the stops clear the opening.
- Close the glove box slowly and make sure it latches normally.
✅ After Repair
- Turn the fan on and check for stronger airflow.
- Listen for rattles from the glove box area.
- If airflow is still weak, inspect the filter orientation and the housing for debris.
💰 DIY vs Shop Cost
Shop Cost: $80-$150 (parts + labor)
DIY Cost: $15-$40 (parts only)
You Save: $65-$110 by doing it yourself!
Shop labor rates vary but typically run $100-$150/hour. This repair takes a shop approximately 0.3-0.6 hours.
🎯 Ready to get started?
HowToo makes it easy: same-day/2-day shipping on every part, plus all the tools and specialty tools you need! Check out the parts and tools sections below to add everything to your cart.