





How to Replace the Cabin Air Filter in a 2018-2025 Chevrolet Traverse
Beginner-friendly step-by-step instructions with tools, parts, safety tips, and filter orientation for 2018, 2019, 2020, 2021, 2022, 2023, 2024, 2025
How to Replace the Cabin Air Filter in a 2018-2025 Chevrolet Traverse
Beginner-friendly step-by-step instructions with tools, parts, safety tips, and filter orientation for 2018, 2019, 2020, 2021, 2022, 2023, 2024, 2025


🔧 Traverse - Cabin Air Filter Replacement
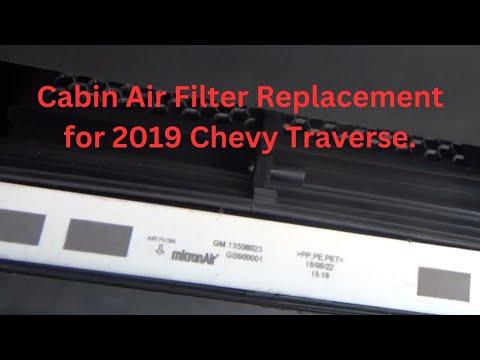
This is an easy first DIY job. The cabin filter sits behind the passenger-side glove box and reduces dust, pollen, and other airborne material entering the heating and air-conditioning system. Chevrolet lists a replaceable cabin filter for your Traverse. parts.chevrolet.com)
Difficulty Level: Beginner | Estimated Time: 15-30 minutes
Assumption: These instructions cover the factory glove-box filter housing.
⚠️ Safety & Precautions
- ⚠️ Park your Traverse, shift into Park, and switch the ignition off.
- 🧤 Empty the glove box before lowering it so nothing spills.
- 🛑 Don’t pry near yellow wiring or connectors because those identify airbag components.
- 🔋 Battery disconnection isn’t required for this replacement.
- 🧩 Handle the glove-box damper gently. It’s the small arm that lets the door open slowly.
🔧 Required Tools
You'll need the following tools for this repair:
- Plastic trim removal tool
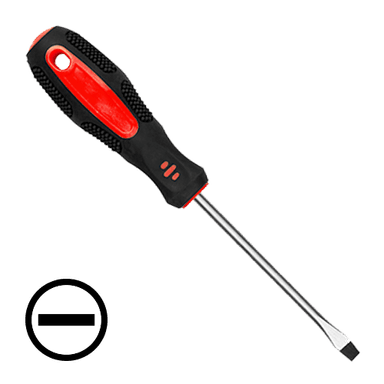
- Small flat-blade screwdriver
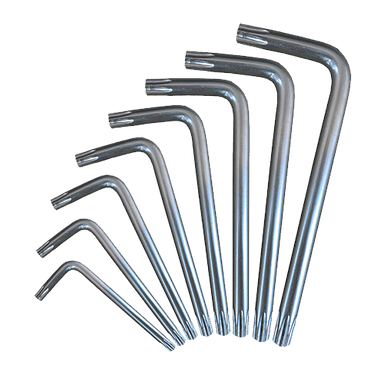
- Torx T15 screwdriver
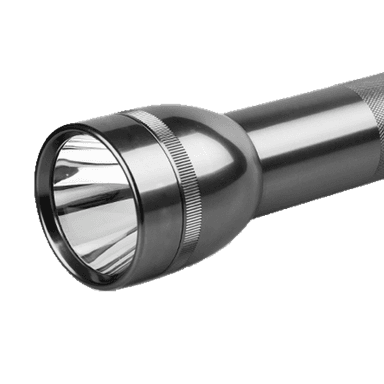
- LED flashlight
- Nitrile gloves
- Safety glasses
🔩 Required Parts
HowToo sells all the parts you need for this repair:
- Cabin air filter - Qty: 1
An activated-carbon or HEPA-style filter is a smart choice around Sonīpat because fine road dust can load a basic filter quickly. The matching filters shown in the parts section start around $9.59.
📋 Before You Begin
- 🚙 Place your Traverse on level ground with the transmission in Park.
- 📦 Remove everything from the passenger-side glove box.
- 🔦 Use the flashlight to inspect the right side of the glove box before pulling anything apart.
- 🌬️ Note the airflow arrow printed on the new filter. Airflow direction matters more than which side looks clean.
🔨 Step-by-Step Instructions
Follow these steps in order:
Step 1: Open and Empty the Glove Box
- Open the passenger-side glove box fully and remove its contents by hand.
- Use the LED flashlight to locate the small damper arm on the right side.
Step 2: Disconnect the Glove-Box Damper
- Support the glove-box door with one hand.
- Use the plastic trim removal tool or your fingers to carefully unhook the damper arm from its mounting pin.
- Don’t twist the arm sideways. The plastic clip can break if forced.
- Photograph the connection before releasing it.
Step 3: Lower the Glove Box
- Press the glove-box sides inward by hand so the side stops clear the dashboard opening.
- Lower the glove-box door slowly toward the floor.
- If the side stops are stubborn, use the plastic trim removal tool for gentle pressure. Don’t use a metal screwdriver against visible trim.
Step 4: Open the Filter Housing
- Use the LED flashlight to find the rectangular filter access cover behind the glove box.
- Release the cover tabs with your fingers and remove the cover.
- If your housing has a retaining screw, remove it with the Torx T15 screwdriver. Keep the screw somewhere safe.
- No tightening torque is specified for the small plastic access-cover fastener. Reinstall it only until snug.
Step 5: Remove the Old Filter
- Put on the nitrile gloves and safety glasses.
- Slide the old filter straight out slowly so leaves and dust don’t fall into the blower opening.
- Check the arrow on the old filter before discarding it. This gives you a useful orientation reference.
- Use the LED flashlight to inspect the housing for leaves or loose debris.
- Don’t push tools or a vacuum hose deep into the blower housing.
Step 6: Install the New Filter
- Find the airflow arrow printed on the new cabin filter.
- Install the new filter with the arrow pointing in the same direction as the original filter or the arrow marked on the housing.
- Slide it in evenly without crushing or sharply folding the pleats.
- Make sure the filter frame sits flat and doesn’t protrude from the opening.
- Wrong-way airflow is the classic five-minute mistake.
Step 7: Reinstall the Access Cover
- Place the filter cover over the opening and press until all tabs click into place.
- If equipped, reinstall the retaining screw with the Torx T15 screwdriver.
- Tighten the screw gently by hand until snug. Plastic housings lose arguments with screwdrivers.
Step 8: Reinstall the Glove Box
- Raise the glove-box door and squeeze its sides inward by hand.
- Guide the side stops back behind the dashboard opening.
- Reconnect the damper arm to its mounting pin using your fingers or the plastic trim removal tool.
- Open and close the glove box slowly to confirm that it moves smoothly and doesn’t drop open.
✅ After Repair
- ✅ Start your Traverse and run the blower through low, medium, and high speeds.
- 🌬️ Confirm that air comes from the vents normally without fluttering or scraping noises.
- 👃 A slight new-filter smell may be present briefly, especially with an activated-carbon filter.
- 🔍 If airflow is weak, reopen the housing and check that the filter isn’t folded or installed crooked.
- 📅 Inspect the filter more often in dusty driving rather than waiting until airflow noticeably drops. Chevrolet also advises more frequent replacement in dusty conditions. parts.chevrolet.com
💰 DIY vs Shop Cost
Shop Cost: $60-$120 (parts + labor)
DIY Cost: $10-$39 (parts only)
You Save: Approximately $40-$100 by doing it yourself!
Shop labor rates vary but typically run $100-$150/hour. This repair takes a shop approximately 0.2-0.5 hour.
🎯 Ready to get started?
HowToo makes it easy: same-day/2-day shipping on every part, plus all the tools and specialty tools you need! Check out the parts and tools sections below to add everything to your cart.