

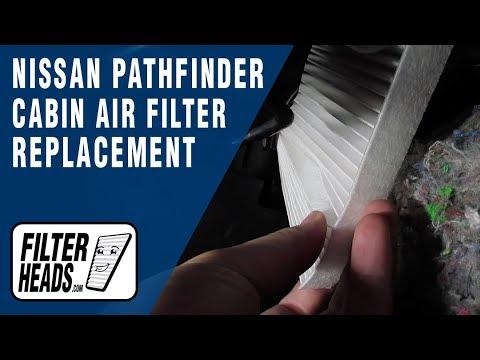





How to Replace the Cabin Air Filter in a 2013-2020 Nissan Pathfinder (Engine: V6 3.5L)
Step-by-step DIY instructions with required tools, safety tips, and airflow checks for 2013, 2014, 2015, 2016, 2017, 2018, 2019, 2020
How to Replace the Cabin Air Filter in a 2013-2020 Nissan Pathfinder (Engine: V6 3.5L)
Step-by-step DIY instructions with required tools, safety tips, and airflow checks for 2013, 2014, 2015, 2016, 2017, 2018, 2019, 2020


🔧 Pathfinder - Cabin Air Filter Replacement
The cabin air filter is inside the HVAC housing behind the passenger-side dashboard. Replacing it improves airflow and helps remove dust, pollen, and road debris from the air entering your Pathfinder.
Difficulty Level: Beginner | Estimated Time: 15-30 minutes
⚠️ Safety & Precautions
- ⚠️ Turn the ignition and climate-control system off before opening the filter housing.
- 🧤 Wear gloves and safety glasses because the old filter may release dust.
- 🔌 Battery disconnection is not required for this repair.
- 🛑 Do not disturb the yellow wiring connectors; those belong to the airbag system.
🔧 Required Tools
You'll need the following tools for this repair:
- Plastic trim-removal tool (specialty)
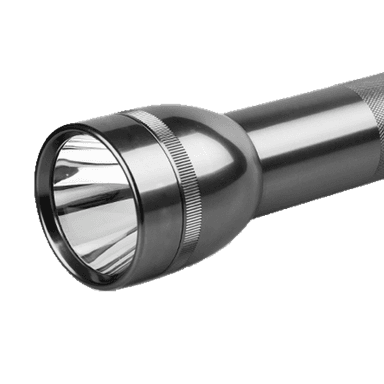
- LED inspection flashlight
- Safety glasses
- Nitrile work gloves
🔩 Required Parts
HowToo sells all the parts you need for this repair:
- Cabin air filter - Qty: 1
📋 Before You Begin
- 🅿️ Park your Pathfinder on level ground, select Park, and engage the parking brake.
- 🔑 Switch the ignition off and remove everything from the passenger footwell.
- 💡 Move the front passenger seat fully rearward for working room.
- 📱 No infotainment setting, scan tool, or system reset is required.
🔨 Step-by-Step Instructions
Follow these steps in order:
Step 1: Locate the Filter Housing
- Use the LED inspection flashlight while looking upward from the passenger footwell.
- Locate the narrow cabin-filter access cover on the HVAC housing near the center console, behind and below the glove box.
- The HVAC housing is the large black plastic enclosure that directs heated and cooled air.
Step 2: Create Working Access
- Use the plastic trim-removal tool to gently release the passenger-side lower trim panel if it blocks your hand or view.
- Pull only near each retaining clip. Do not force or sharply bend the panel.
- Keep removed clips together in a safe place.
Step 3: Remove the Filter Cover
- Use the LED inspection flashlight to identify the locking tab on the cabin-filter cover.
- While wearing nitrile work gloves, press the locking tab by hand and pull the cover away from the HVAC housing.
- Set the cover aside without bending its retaining tab.
Step 4: Remove the Old Filter
- While wearing safety glasses and nitrile work gloves, grasp the exposed edge of the old filter.
- Carefully compress the filter slightly and draw it through the narrow opening. Avoid shaking loose dust into the blower housing.
- Use the LED inspection flashlight to inspect the empty housing.
- Remove loose leaves by hand only. Do not push debris deeper into the HVAC unit.
Step 5: Check the Filter Direction
- Use the LED inspection flashlight to note the airflow-arrow direction printed on the old filter before discarding it.
- Orient the replacement filter so its AIR FLOW arrow matches the old filter's direction.
- If the replacement is marked UP instead of AIR FLOW, install it with the UP arrow pointing upward.
Step 6: Install the New Filter
- While wearing nitrile work gloves, gently compress the new cabin air filter enough to pass through the opening.
- Slide it fully into the housing and allow the filter to expand into its normal shape.
- Use the LED inspection flashlight to confirm that the filter is not folded, twisted, or protruding from the opening.
- Never force the filter past an obstruction.
Step 7: Reinstall the Filter Cover
- Position the access cover by hand and engage its fixed edge first.
- Press the locking side until the tab clicks securely into place.
- Use the LED inspection flashlight to confirm the cover sits flush against the HVAC housing.
Step 8: Reinstall the Lower Trim
- Align the lower trim panel and its retaining clips by hand.
- Press directly over each clip until it snaps into place.
- Use the plastic trim-removal tool only to guide an edge if necessary; do not pry against visible dashboard surfaces.
✅ After Repair
- ✅ Start your Pathfinder and operate the blower at each speed.
- 👂 Listen for fluttering, ticking, or rubbing noises that could indicate a folded filter or trapped debris.
- 💨 Check for normal airflow from the dashboard vents.
- 📅 Inspect the filter about every 12 months or 15,000 miles, and more frequently in dusty conditions.
💰 DIY vs Shop Cost
Shop Cost: $60-$120 (parts + labor)
DIY Cost: $15-$35 (parts only)
You Save: $45-$85 by doing it yourself!
Shop labor rates vary but typically run $100-$150/hour. This repair takes a shop approximately 0.2-0.4 hours.
🎯 Ready to get started?
HowToo makes it easy: same-day/2-day shipping on every part, plus all the tools and specialty tools you need! Check out the parts and tools sections below to add everything to your cart.