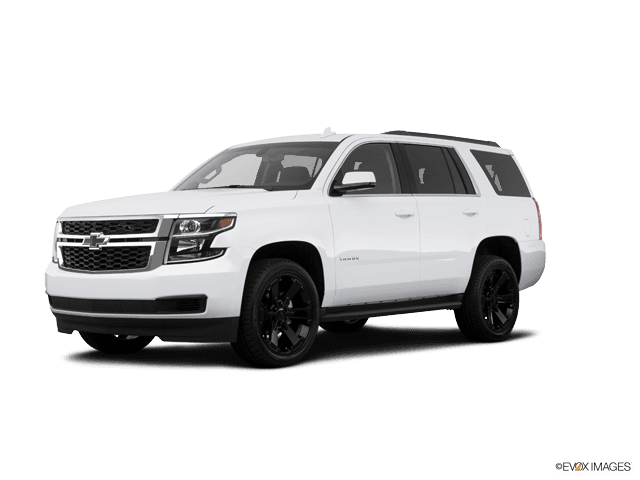

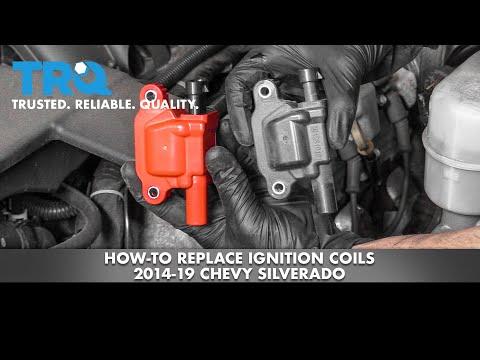






How to Replace Ignition Coils on a 2007-2024 Chevrolet Tahoe (Trim: LT | Engine: V8 5.3L)
Step-by-step DIY instructions with tools, parts, torque specs, and safety tips for 2007, 2008, 2009
How to Replace Ignition Coils on a 2007-2024 Chevrolet Tahoe (Trim: LT | Engine: V8 5.3L)
Step-by-step DIY instructions with tools, parts, torque specs, and safety tips for 2007, 2008, 2009


🔧 Tahoe - Ignition Coil Replacement
Your Tahoe uses eight individual ignition coils, one above each spark plug. Replacing them involves removing the engine cover, disconnecting each coil, transferring the spark-plug wire, and installing the new coil in the same position.
Difficulty Level: Beginner | Estimated Time: 1-1.5 hours
⚠️ Safety & Precautions
- Allow the engine to cool completely before touching the coils or exhaust components.
- Disconnect the negative battery cable before unplugging ignition components.
- Replace and reconnect one coil at a time so the spark-plug wires cannot be mixed up.
- Never pull a spark-plug wire by its cable; grip the rubber boot instead.
- Keep dirt, water, and tools away from the exposed electrical connections.
🔧 Required Tools
You'll need the following tools for this repair:
- 10mm socket
- 1/4-inch drive ratchet
- 1/4-inch drive 6-inch extension
- Inch-pound torque wrench rated 30-150 in-lbs
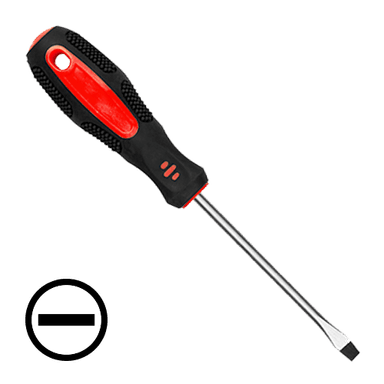
- Small flat-blade screwdriver
- Spark-plug boot pliers
- OBD-II scan tool
- Mechanic’s gloves
- Safety glasses
🔩 Required Parts
HowToo sells all the parts you need for this repair:
- Ignition coils - Qty: 8 when replacing the complete set
- Dielectric boot grease - Qty: 1 tube
If diagnosis identified only one failed coil, one matching replacement coil may be installed. Replace all eight only when age, mileage, or repeated failures justify a complete set.
📋 Before You Begin
- Park your Tahoe on level ground, shift into Park, apply the parking brake, and switch the ignition off.
- Open the hood and wait until the engine is cool enough to touch safely.
- Keep each spark-plug wire connected to its original cylinder. Working on one coil at a time is the easiest method.
- A torque wrench tightens a fastener to an exact amount and prevents damage from overtightening.
🔨 Step-by-Step Instructions
Follow these steps in order:
Step 1: Disconnect the Battery
- Use the 10mm socket and 1/4-inch drive ratchet to loosen the negative battery-terminal clamp.
- Lift the negative cable from the terminal and position it where it cannot spring back into contact.
- Wear safety glasses and mechanic’s gloves while working around the battery.
Step 2: Remove the Engine Appearance Cover
- Remove the oil-fill cap by hand if it passes through the appearance cover.
- Lift the front edges of the cover by hand to release its rubber mounting grommets, then lift the cover away.
- Reinstall the oil-fill cap by hand immediately so nothing can enter the engine.
- Lift near each mounting point.
Step 3: Select the First Ignition Coil
- Locate the four coils along each valve cover. Each coil has an electrical connector and a short spark-plug wire.
- Work on only one coil at a time. No tool is required to identify and separate the first coil from the others.
- If replacing only a diagnosed failed coil, use the OBD-II scan tool to verify the affected cylinder before removal.
Step 4: Disconnect the Coil Electrical Connector
- Use the small flat-blade screwdriver gently if needed to release the connector’s secondary lock.
- Press the connector release tab by hand and pull the connector straight from the coil.
- Do not pry against the wires or pull on the wiring harness.
Step 5: Disconnect the Spark-Plug Wire
- Use the spark-plug boot pliers to grip the rubber boot at the ignition coil.
- Twist the boot slightly to release its seal, then pull it straight off the coil terminal.
- Inspect the boot for cracking, burning, corrosion, or oil contamination.
- Twist the boot before pulling.
Step 6: Remove the Old Ignition Coil
- Use the 10mm socket, 1/4-inch drive 6-inch extension, and 1/4-inch drive ratchet to remove the coil retaining bolts.
- Lift the ignition coil from its valve-cover mounting bracket by hand.
- Keep the bolts with that coil position so none are lost.
Step 7: Install the New Ignition Coil
- Place the new coil onto the same mounting position by hand, with its connector and high-voltage terminal oriented like the original coil.
- Start both retaining bolts by hand to prevent cross-threading.
- Use the 10mm socket, 1/4-inch drive 6-inch extension, and inch-pound torque wrench to tighten the coil bolts evenly to 10 Nm (89 in-lbs).
- Do not overtighten the bolts; the valve-cover mounting points can be damaged.
Step 8: Reconnect the Spark-Plug Wire
- Apply only a thin film of dielectric boot grease inside the spark-plug wire boot by hand. Dielectric grease is a nonconductive silicone grease that helps seal out moisture.
- Push the original spark-plug wire onto the new coil by hand until the terminal is fully seated.
- Use the spark-plug boot pliers only to position the boot if access is tight; do not crush it.
Step 9: Reconnect the Electrical Connector
- Push the electrical connector onto the new coil by hand until its release tab clicks.
- Engage the secondary lock by hand. Use the small flat-blade screwdriver only if gentle assistance is needed.
- Pull lightly on the connector body by hand to confirm it is locked.
Step 10: Replace the Remaining Coils
- Repeat Steps 4 through 9 for each remaining coil using the same listed tools.
- Continue replacing only one coil at a time to preserve the correct spark-plug wire routing.
- Check that no wires are pinched against the coil brackets or exhaust shields.
Step 11: Reinstall the Engine Appearance Cover
- Remove the oil-fill cap by hand.
- Align the cover’s mounting points and press it down by hand until all rubber grommets are fully seated.
- Reinstall the oil-fill cap by hand and tighten it until securely seated.
Step 12: Reconnect the Battery
- Place the negative cable onto the battery terminal by hand.
- Use the 10mm socket and inch-pound torque wrench to tighten the negative battery-terminal clamp to 5 Nm (44 in-lbs).
- Do not overtighten the battery-terminal clamp.
✅ After Repair
- Start the engine and allow it to idle. It should run evenly without shaking, snapping sounds, or a flashing malfunction indicator lamp.
- Use the OBD-II scan tool to clear stored misfire codes after confirming that all connectors and wires are secure.
- Take a short road test and verify that acceleration is smooth under light and moderate throttle.
- Scan again for pending misfire codes. A returning cylinder-specific code may indicate a spark plug, wire, injector, wiring, or mechanical problem rather than the new coil.
- Stop the engine and recheck every coil connector and spark-plug wire after the road test.
💰 DIY vs Shop Cost
Shop Cost: $650-$1,050 (parts + labor)
DIY Cost: $300-$650 (parts only)
You Save: $350-$400 by doing it yourself!
Shop labor rates vary but typically run $100-$150/hour. This repair takes a shop approximately 1-1.5 hours.
🎯 Ready to get started?
HowToo makes it easy: same-day/2-day shipping on every part, plus all the tools and specialty tools you need! Check out the parts and tools sections below to add everything to your cart.