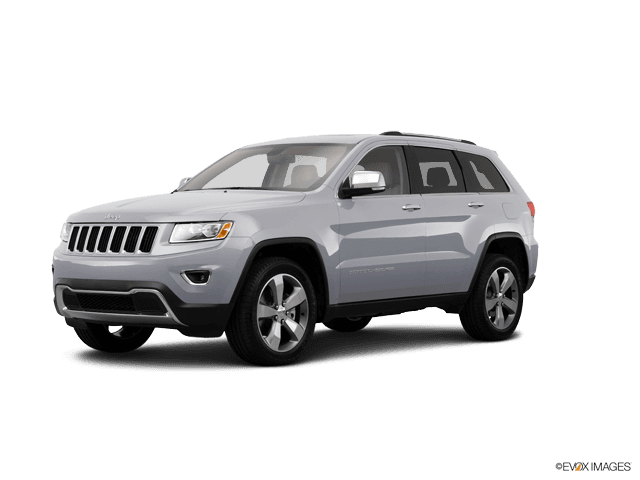







How to Replace Front Turn Signal Bulbs on a 2014 Jeep Grand Cherokee
Step-by-step wheel-well access instructions, required tools/parts, safety tips, and lug nut torque specs for 2011, 2012, 2013, 2014, 2015, 2016, 2017, 2018, 2019, 2020
How to Replace Front Turn Signal Bulbs on a 2014 Jeep Grand Cherokee
Step-by-step wheel-well access instructions, required tools/parts, safety tips, and lug nut torque specs for 2011, 2012, 2013, 2014, 2015, 2016, 2017, 2018, 2019, 2020


🔧 Grand Cherokee - Front Turn Signal Bulb Replacement
On your Grand Cherokee, the front turn signal bulb sits in the headlamp housing and is typically accessed through the front wheel-well liner (behind the tire). Replacing it restores proper signaling and helps you stay visible and legal on the road.
Difficulty Level: Beginner | Estimated Time: 0.5-1.0 hours (both sides)
⚠️ Safety & Precautions
- ⚠️ Work on a level surface and support the SUV with jack stands before going under the wheel well.
- ⚠️ Turn the lights OFF and let the bulb cool before touching it.
- ⚠️ Wear gloves; oils from skin can shorten bulb life.
- ⚠️ If you lift the vehicle, never rely on the floor jack alone.
🔧 Required Tools
You'll need the following tools for this repair:
- Floor jack (rated 3-ton minimum)
- Jack stands (rated 3-ton minimum)
- Wheel chocks
- 21mm socket
- 1/2" drive ratchet
- Torque wrench (30-150 ft-lbs range)
- 8mm socket
- 1/4" drive ratchet
- Trim clip removal tool
- Work light
- Nitrile gloves
- Safety glasses
🔩 Required Parts
HowToo sells all the parts you need for this repair:
- Front turn signal bulb (amber) - Replace in pairs - Qty: 2
📋 Before You Begin
- Park on level ground, shift to Park, and set the parking brake.
- Place wheel chocks behind the rear wheels.
- Turn the headlamps OFF and remove the key/fob from the vehicle.
🔨 Step-by-Step Instructions
Follow these steps in order:
Step 1: Confirm the correct side
- Turn on the hazard lights and walk around to confirm which front turn signal is out, then turn hazards OFF.
- Doing both sides saves time later.
Step 2: Loosen the wheel (optional but easiest)
- Use a 21mm socket and 1/2" drive ratchet to loosen (break free) the front wheel lug nuts about 1/2 turn while the tire is still on the ground.
Step 3: Lift and support the front corner
- Lift with a floor jack (rated 3-ton minimum) at the proper front jacking point.
- Set the vehicle onto jack stands (rated 3-ton minimum) before working in the wheel well.
Step 4: Remove the wheel
- Remove the lug nuts using the 21mm socket and 1/2" drive ratchet, then remove the wheel.
- During reassembly, install lug nuts and Torque to 176 Nm (130 ft-lbs) using a torque wrench (30-150 ft-lbs range).
Step 5: Open the front wheel-well liner access
- Use an 8mm socket with a 1/4" drive ratchet to remove the small screws along the front edge of the wheel-well liner (closest to the bumper/headlamp area).
- Use a trim clip removal tool to pop out any plastic push-clips as needed.
- Pull the liner back just enough to reach behind the headlamp (use a work light to see).
- Don’t crease the liner; bend gently.
Step 6: Remove the turn signal bulb socket
- Reach behind the headlamp and find the turn signal socket (it’s the socket that twists out of the headlamp housing).
- Twist the socket counterclockwise by hand to unlock it, then pull it straight out.
- If it’s tight, wear nitrile gloves for better grip.
Step 7: Replace the bulb
- Pull the old bulb straight out of the socket.
- Install the new front turn signal bulb (amber) by pushing it straight into the socket.
- Avoid touching the glass with bare fingers; wear nitrile gloves.
Step 8: Reinstall socket and reassemble
- Insert the socket back into the headlamp and twist clockwise until it locks.
- Reposition the wheel-well liner.
- Reinstall screws/clips using the 8mm socket and trim clip removal tool.
- Reinstall the wheel and hand-start lug nuts.
Step 9: Lower the vehicle and torque the wheel
- Lower the vehicle off the jack stands using the floor jack.
- Tighten lug nuts in a star pattern and Torque to 176 Nm (130 ft-lbs) using the torque wrench (30-150 ft-lbs range).
✅ After Repair
- Turn hazards ON and confirm both front turn signals blink normally (not fast).
- Check parking lights and headlights to be sure nothing else was bumped loose.
- If you still get fast-blink, recheck that the bulb is fully seated and the socket is fully locked.
💰 DIY vs Shop Cost
Shop Cost: $120-$220 (parts + labor)
DIY Cost: $10-$30 (parts only)
You Save: $90-$190 by doing it yourself!
Shop labor rates vary but typically run $100-$150/hour. This repair takes a shop approximately 0.5-1.0 hours.
🎯 Ready to get started?
HowToo makes it easy: same-day/2-day shipping on every part, plus all the tools and specialty tools you need! Check out the parts and tools sections below to add everything to your cart.