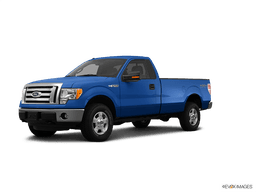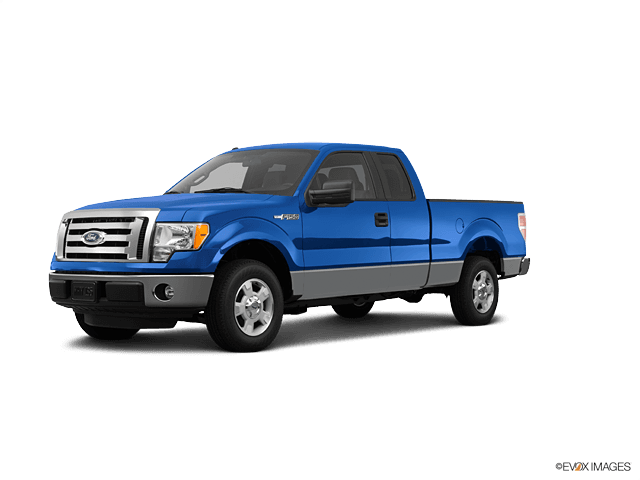







How to Change the Oil and Filter on a 2011-2014 Ford F-150 3.7L V6 (Trim: STX | Engine: V8 5.0L)
Step-by-step DIY guide with tools, oil capacity, torque specs, safety tips, and oil-life reset for 2011, 2012, 2013, 2014
How to Change the Oil and Filter on a 2011-2014 Ford F-150 3.7L V6 (Trim: STX | Engine: V8 5.0L)
Step-by-step DIY guide with tools, oil capacity, torque specs, safety tips, and oil-life reset for 2011, 2012, 2013, 2014


🔧 F-150 - Engine Oil and Filter Change
Changing the oil removes contaminants and protects your F-150’s 3.7L V6 from internal wear. Replace the oil filter at the same time, then reset the Intelligent Oil-Life Monitor.
Difficulty Level: Beginner | Estimated Time: 45-60 minutes
⚠️ Safety & Precautions
- ⚠️ Work on level, solid ground and never crawl under a vehicle supported only by a jack.
- 🧤 Let the engine cool until the oil is warm, not hot, to prevent burns.
- 🛑 Keep the transmission in Park, apply the parking brake, and chock the rear wheels.
- ♻️ Collect all used oil and take it to an authorized recycling facility.
- 🔋 Battery disconnection is not required.
🔧 Required Tools
You'll need the following tools for this repair:
- 15mm six-point socket
- 3/8-inch-drive ratchet
- 3/8-inch-drive torque wrench rated 10-80 ft-lbs
- Oil-filter wrench sized for the replacement filter
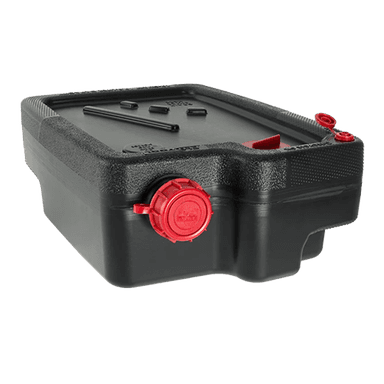
- Oil drain pan with 8-quart minimum capacity
- Automotive funnel with 1-quart minimum capacity
- Wheel chocks
- Vehicle ramps rated 3-ton minimum
- Nitrile mechanic gloves
- Safety glasses
🔩 Required Parts
HowToo sells all the parts you need for this repair:
- SAE 5W-20 engine oil meeting Ford WSS-M2C945-A - Qty: 6 quarts
- Engine oil filter for 3.7L V6 - Qty: 1
- Engine oil drain-plug sealing washer - Qty: 1
📋 Before You Begin
- 🚙 Drive the front wheels onto 3-ton vehicle ramps on level pavement.
- 🛑 Shift into Park, apply the parking brake, shut off the engine, and place wheel chocks behind both rear tires.
- 🌡️ Wait approximately 10 minutes so the oil is warm but no longer dangerously hot.
- 📏 Confirm the vehicle sits level enough for an accurate dipstick reading. If the ramps create a steep angle, lower the vehicle before the final oil-level check.
🔨 Step-by-Step Instructions
Follow these steps in order:
Step 1: Open the Hood and Oil-Fill Cap
- Open the hood and locate the oil-fill cap on top of the engine.
- Remove the cap by hand. This lets air enter so the old oil drains smoothly.
- Pull out the dipstick by hand, wipe it clean, and reinstall it fully.
- Leave the cap near the hood latch as a reminder.
Step 2: Position the Drain Pan
- Put on nitrile mechanic gloves and safety glasses.
- Slide the 8-quart drain pan beneath the oil-pan drain plug. Position it slightly toward the rear because the oil initially exits with force.
- Verify the drain pan will not overflow and can catch oil as the flow slows.
Step 3: Drain the Engine Oil
- Use a 15mm six-point socket and 3/8-inch-drive ratchet to loosen the drain plug counterclockwise.
- Finish removing the plug carefully by hand while keeping upward pressure on it, then pull it away quickly.
- Allow the oil to drain until only an occasional drip remains, usually 5-10 minutes.
- Inspect the drain plug threads. Replace the sealing washer before installation.
Step 4: Reinstall the Drain Plug
- Start the drain plug clockwise by hand for several turns. It should turn easily; resistance may indicate crossed threads.
- Use the 15mm six-point socket and 3/8-inch-drive torque wrench to torque the drain plug to 27 Nm (20 ft-lbs).
- Do not overtighten the plug because the oil pan threads can be damaged.
Step 5: Remove the Old Oil Filter
- Move the 8-quart drain pan beneath the oil filter. Oil will spill as the filter seal releases.
- Turn the filter counterclockwise by hand. If it is stuck, loosen it with the correctly sized oil-filter wrench.
- Keep the filter upright while removing it, then empty it into the drain pan.
- Check the engine’s filter mounting surface. Make sure the old rubber gasket did not remain stuck to it.
- Two stacked gaskets can cause a major leak.
Step 6: Install the New Oil Filter
- Apply a thin film of fresh 5W-20 oil to the new filter’s rubber gasket using a gloved fingertip.
- Thread the filter clockwise onto its mounting stud by hand until the gasket contacts the mounting surface.
- Tighten the filter by hand approximately three-quarters of a turn beyond gasket contact, following the filter manufacturer’s printed marking if it differs.
- Do not use the oil-filter wrench to tighten the new filter.
Step 7: Add New Engine Oil
- Place the automotive funnel in the oil-fill opening.
- Pour in 5.5 quarts of SAE 5W-20 engine oil, then wait one minute.
- Remove the funnel and install the oil-fill cap by hand.
- The specified capacity with a new filter is approximately 5.7 L (6.0 US quarts), but approach the final level gradually to avoid overfilling.
Step 8: Start the Engine and Check for Leaks
- Make sure all tools are clear of the engine compartment.
- Start the engine and let it idle for approximately 30 seconds. The oil-pressure warning light should go out within a few seconds.
- Shut off the engine immediately if the oil-pressure warning remains illuminated.
- While wearing safety glasses, inspect the drain plug and filter for fresh oil leaks. Do not touch moving or hot components.
Step 9: Verify the Final Oil Level
- Shut off the engine and wait at least five minutes for the oil to return to the pan.
- Move your F-150 off the ramps and park it on level ground before taking the final reading.
- Pull out the dipstick by hand, wipe it clean, reinstall it fully, and remove it again.
- Add the remaining 5W-20 oil through the automotive funnel in small amounts until the level reaches the upper edge of the dipstick’s crosshatched operating range.
- Do not fill above the maximum mark. Reinstall the dipstick and oil-fill cap securely by hand.
Step 10: Reset the Oil-Life Monitor
- For a cluster with physical SETUP and RESET buttons, switch the ignition to ON without starting the engine.
- Press SETUP repeatedly until OIL LIFE = XX% HOLD RESET = NEW appears, then hold RESET for approximately two seconds until OIL LIFE SET TO 100% appears.
- If equipped with steering-wheel message-center buttons, select Settings > Vehicle > Oil Life Reset, then hold OK until the display confirms 100%.
- Switch the ignition off after the reset is confirmed.
✅ After Repair
- ✅ Start the engine once more and confirm the oil-pressure warning light turns off normally.
- 🔍 Recheck the drain plug, oil filter, and ground beneath your F-150 for leakage.
- 📏 Check the dipstick again after the first drive and top up only if it is below the operating range.
- ♻️ Pour the used oil into a sealed container and recycle it with the old filter at an authorized collection facility.
- 📝 Record the date and mileage for future maintenance.
💰 DIY vs Shop Cost
Shop Cost: $70-$130 (parts + labor)
DIY Cost: $35-$65 (parts only)
You Save: $35-$65 by doing it yourself!
Shop labor rates vary but typically run $100-$150/hour. This repair takes a shop approximately 0.4-0.6 hours.
🎯 Ready to get started?
HowToo makes it easy: same-day/2-day shipping on every part, plus all the tools and specialty tools you need! Check out the parts and tools sections below to add everything to your cart.